
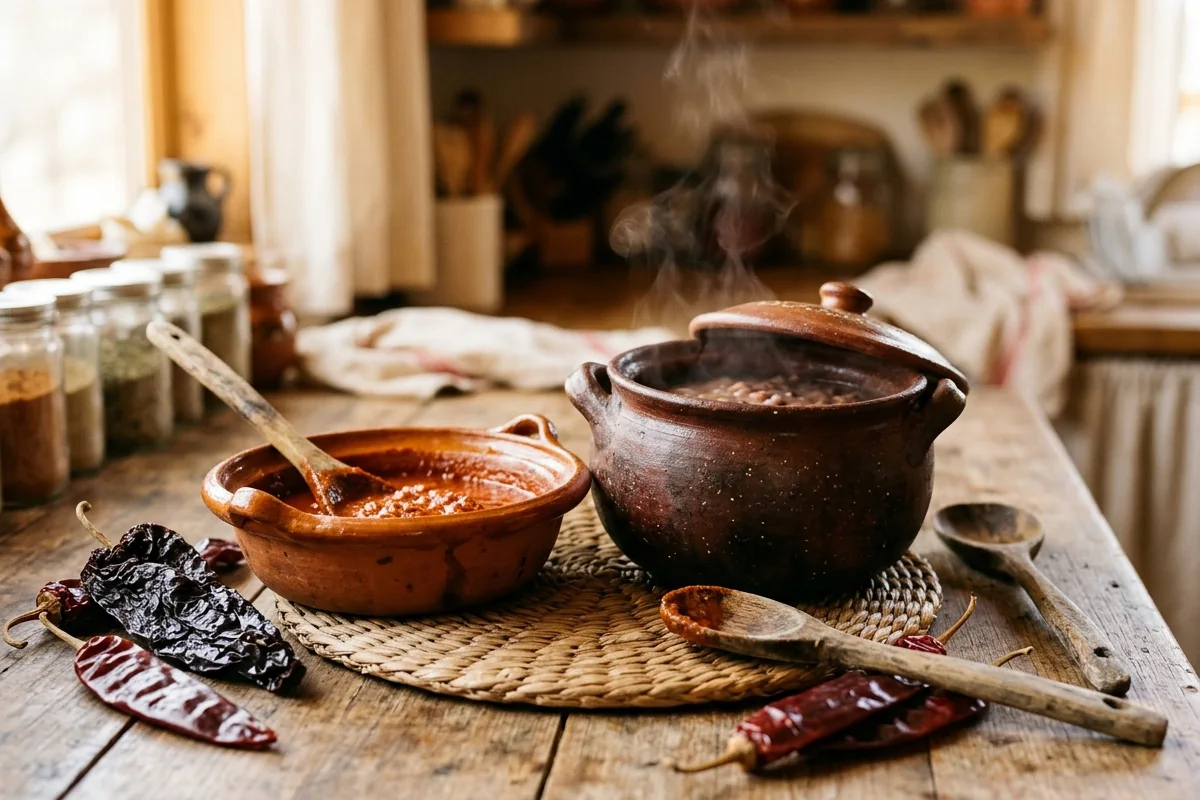
Quick Answer: To cure (curar) a new Mexican clay bean pot or cazuela before first cooking: (1) submerge both pot and lid completely in cold tap water for 8–12 hours, (2) drain and rub a cut clove of raw garlic firmly across the entire unglazed exterior bottom to seal micro-pores with natural pectin, (3) fill 3/4 full with cold water and warm gradually from the lowest flame to a 15-minute simmer, and (4) let the water cool completely inside the pot on the turned-off burner.
| Editor’s Pick | Why We Recommend It | Availability |
|---|---|---|
| #1 Traditional Bean OllaHandmade Lead-Free Mexican Olla de Barro | Domed Lid · Rounded Belly · Stovetop Ready | Check Amazon ↗ |
| #1 Wide Sauce CazuelaTraditional Glazed Terracotta Cazuela | Even Reduction for Mole & Rice | Check Amazon ↗ |
| #1 Family Stew PotArtisan Mexican Barro Stew & Frijoles Pot | 1 lb Dried Bean Capacity · Lead-Free | Check Amazon ↗ |
Why Uncured Earthenware Cracks on First Heat
Fresh out of the kiln, earthen clay contains thousands of bone-dry microscopic air pockets and slight residual stresses between the glazed interior and raw terracotta exterior. Setting a dry new olla de barro straight onto a gas burner expands the bottom millimeter rapidly while the upper walls stay cool—producing an unmistakable sharp ping and a hairline crack.
Traditional Mexican seasoning (curado) hydrates the clay matrix evenly from the inside out and fills exterior micro-pores with natural plant starches so the vessel flexes smoothly across hundreds of cooking cycles.
The Traditional 4-Step Curing Method (Water + Raw Garlic)
Step 1: The Overnight Cold-Water Plunge (8–12 Hours)
Fill a deep kitchen sink, clean utility tub, or stockpot with cool tap water and submerge both the clay pot and its lid completely. You will immediately see tiny streams of air bubbles rising from the unglazed foot and rim and hear a faint fizzing whisper as thirsty terracotta drinks water. Leave it submerged overnight.
Step 2: Seal the Unglazed Base with Raw Garlic
Lift the pot out, towel off dripping surface water, and flip it upside down. Slice a large plump clove of raw garlic in half and rub the juicy cut face firmly across every inch of the unglazed bottom and lower curve—pressing hard enough that the clove shreds into a sticky film. Garlic’s natural mucilage and sulfur-rich pectins bake into the raw pores like a flexible organic primer. Let dry upright for 20 minutes.
Step 3: Low-to-Simmer Water Seasoning
Fill the pot three-quarters full with cool tap water (you may toss in 2 tablespoons of white vinegar or a pinch of baking soda to neutralize any earthy kiln aroma). Set on your burner over the absolute lowest heat setting for 10 minutes—use a cast-iron heat diffuser if cooking on electric coils or glass. Slowly nudge heat to medium-low until gentle bubbles break the surface, and simmer uncovered for 15 minutes.
Step 4: Cool Slowly & Season Clean
Switch off the burner and leave the pot right where it sits until the water reaches room temperature. Pour out the water, rinse with warm plain water and a soft brush, and air-dry completely before storing with the lid slightlyajar.
Daily Stovetop Habits That Make Clay Cookware Last a Decade
| Habit | Safe Clay Technique | Mistake That Causes Cracks |
|---|---|---|
| Preheating | Always add liquid/oil first and start on low heat for 5 minutes | Blasting an empty dry clay pot over high flame |
| Topping Off Broth | Add boiling kettle water to simmering beans | Pouring cold tap or fridge water into a hot pot |
| Counter Resting | Set hot pot on wood, cork, or folded dry cotton towel | Placing hot pot onto cold quartz, granite, or a wet sink |
| Washing | Warm water + baking soda paste once pot is cool | Soaking in heavily perfumed lemon dish detergent |
Frequently Asked Questions
Do I have to repeat the overnight curing before every batch of beans?
No! Full curing is a one-time ritual before your very first cook (repeat once a year only if the pot sits unused in a bone-dry desert pantry for many months).
Will the garlic rub make sweet dishes like arroz con leche taste like garlic?
Not at all—you only rub garlic on the exterior bottom that touches the flame, where it polymerizes into an odorless seal during the first simmer.
Why did hairline spiderweb lines appear inside the clear glaze?
Fine glaze crazing is completely normal thermal expansion in authentic Mexican barro cookware and does not mean the structural clay body is cracked unless liquid actively drips through to the bottom.
Ready to Compare the Best Handcrafted Options?
Explore our side-by-side glaze, size, and safety breakdown in our flagship buyer’s guide: